There is a short window on delivery day when problems are the vendor’s and not yours. It closes when you sign. Most buyers of containerized mining units spend that window watching the crane rather than testing the unit, and then discover over the following months which things were never right.
This is the acceptance test to run instead. It assumes the container is on its foundation and the crane has gone, which means the groundwork covered in our guide to container delivery, crane set and site readiness is already done.
Why factory testing is not enough
A reputable vendor tests before shipping. That testing is real and worth having, but it does not transfer to your site, for three reasons.
Road transport shakes things loose. Terminations that were torqued correctly in a workshop arrive with some fraction backed off, and vibration during transit is harder on electrical connections than months of normal running.
Your conditions are not the factory’s. A unit tested on utility power and a clean gas supply behaves differently on a wellhead with variable composition and on a pad at a different altitude and ambient temperature.
And the interfaces between the container and your site simply did not exist in the factory. The gas tie-in, the electrical tie-in, the earth grid and the communications link are all built on site, and they are where a meaningful share of commissioning problems live.
Documentation first, before anything is energised
Do this before the testing, because the documents tell you what you are testing against and because they are far harder to obtain after the vendor’s crew has left.
- As-built drawings, single line diagram, and a general arrangement that matches what is physically in front of you. Mark every difference you find; as-builts that disagree with the hardware will mislead a technician at two in the morning a year from now.
- Equipment serial numbers for the genset, switchgear, transformers and mining hardware, recorded against the unit rather than loose on a delivery note.
- Warranty terms with their actual start date, and a clear statement of what voids them. Some are voided by running outside a stated ambient range or on gas outside a stated specification.
- Factory test records, so you can compare your site results against them.
- Settings files. Genset controller, protection relay and drive parameters. If the vendor keeps these, a future fault becomes a support ticket instead of a repair.
Mechanical and structural checks
Walk the unit cold, before any start attempt.
Check that the container sits level and bears evenly on its foundation, and that there is no racking in the frame from the lift. Open and close every door and confirm it latches. A door that does not seal properly undermines the airflow design the whole thermal strategy depends on, which we cover in our guide to hot and cold aisle containment.
Inspect the roof and wall penetrations for a weather seal. Penetrations made on site for cable or gas entry are a common leak point because they are made last, often in poor light.
Confirm fluid levels, check for transit damage to radiators and coolers, and verify that fan guards are fitted and secure. Look for shipping restraints that have not been removed; a restraint left in place on a spring mount or a damper will destroy equipment on the first start.
Gas system
The gas tie-in is new work and should be treated as such.
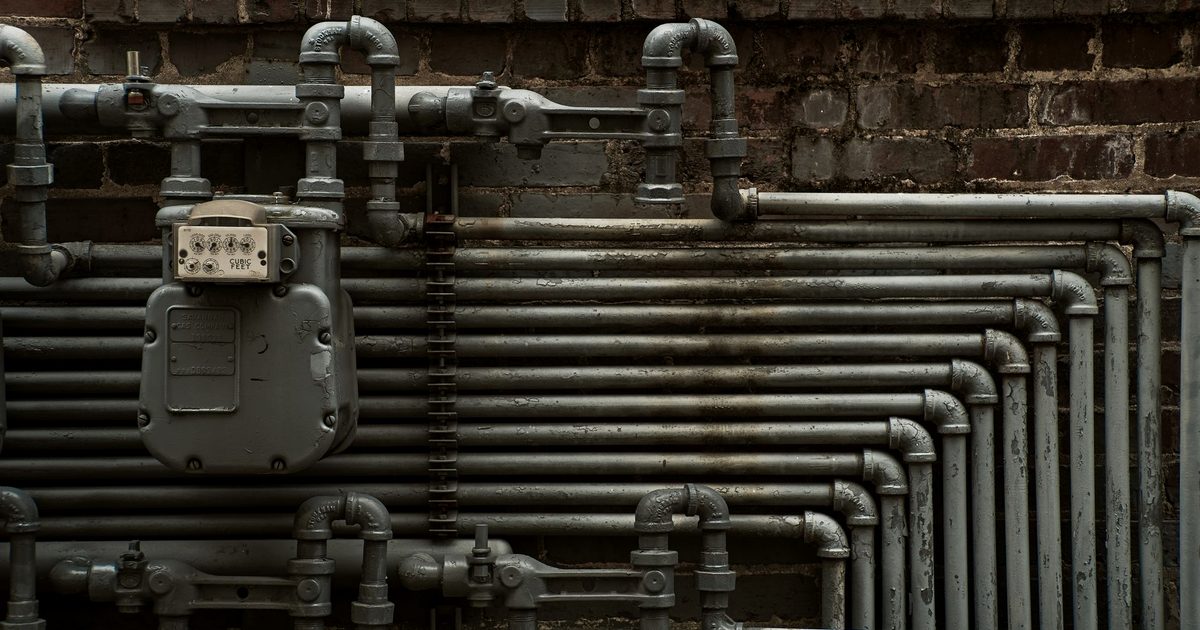
Pressure test the line per the specification and record the result. Leak test every joint made on site with solution or an instrument, not by smell. Confirm that the fuel train matches the drawing, that regulators are set to the specified pressures, and that the vent line terminates somewhere safe rather than wherever it was convenient to point it.
Take a gas sample and have it analysed if you do not already have a recent analysis from this specific source. Composition drives derate, maintenance interval and in some cases warranty validity, and assuming it matches a neighbouring well is how operators get surprised. Our guide to gas quality conditioning explains what the numbers mean.
Confirm that emergency shutdown actually closes the fuel valve, by testing it rather than by reading the drawing.
Electrical
Verify earthing and bonding against the design, and record the earth resistance reading. This is the single most commonly skipped acceptance item and the hardest to retrofit once the unit is running and revenue-generating.
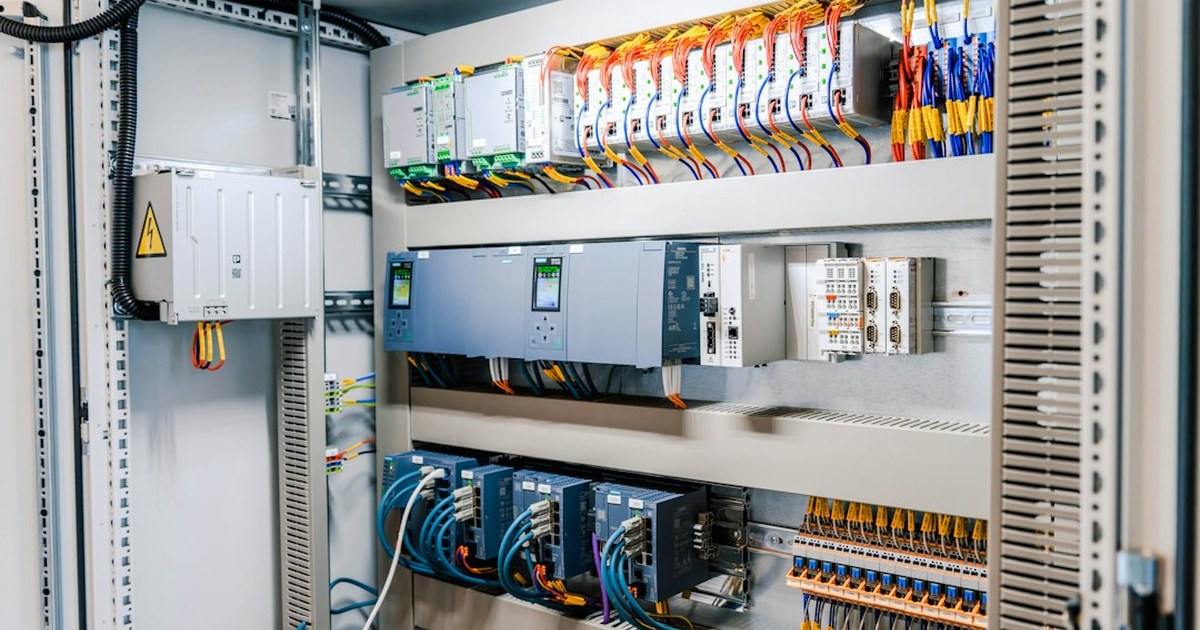
Thermographic inspection under load is worth arranging if you can. A loose termination shows up clearly on a thermal camera and is a five-minute fix on handover day. Found later, it is an outage, and sometimes a fire. Our guide to mining electrical infrastructure covers the wider design.
Confirm protection settings match the coordination study, test the breakers, and verify phase rotation before connecting anything that cares about it.
Load testing
Run the unit at full rated load for a sustained period, not a few minutes. Several things only appear under sustained load: cooling that is adequate at fifty per cent and marginal at a hundred, a fuel supply that cannot hold pressure at full draw, and vibration that builds as the unit reaches thermal equilibrium.
Record electrical output, fuel consumption, coolant and exhaust temperatures, and ambient temperature throughout. Those first numbers become your baseline, and having a clean baseline is what lets you detect degradation later instead of guessing. Our guide to load bank testing and commissioning procedures covers the method in detail.
Test the unit’s behaviour on loss of load and on emergency stop. You want to know how it responds now, under supervision, rather than during an unplanned event.
Controls, monitoring and the mining hardware
Confirm remote monitoring works from somewhere other than the site, and that alarms actually arrive at a person. An alarm that only sounds locally is useless on a remote pad. Verify the controls against our guide to SCADA and PLC controls.
On the mining side, confirm the unit count physically present matches the contract, record serial numbers, verify firmware versions, and confirm hashrate against specification at the operating ambient rather than at an ideal one. Check that every rack position is populated and powered.
Running the punchlist
Write it down as you go, with three columns: what is wrong, who owns it, and when it is due. Classify each item as blocking or non-blocking. Blocking items are safety systems, anything that risks equipment damage, and anything that would void warranty.
Agree a retention arrangement if your contract allows one. The practical reality is that open items close quickly while money is outstanding and slowly once it is not.
Finally, hold the handover meeting on site with the vendor’s commissioning engineer and your own operations people in the same room, and record the questions asked. That conversation is the cheapest knowledge transfer you will ever get, and it will not happen again.
After acceptance
Acceptance is the start of the operating programme, not the end of the project. The baseline data from load testing feeds your maintenance planning, your spares holding should be established before the unit is relied upon, as set out in our guide to spare parts inventory strategy, and your energy isolation procedures need to reflect the unit as actually built.
Rax Mining builds and delivers containerized natural gas mining units and runs this acceptance process as part of handover rather than leaving it to the buyer. If you are evaluating a deployment and want the acceptance criteria defined before the build starts, our consulting team can work through it with you.
Explore Rax Mining
- Bitcoin Miner Hosting — Competitive rates from $0.075/kWh
- NatGas MDU Units — 1MW modular datacenter containers
- Mining Profitability Calculator — Estimate your mining returns
- Our Facility — Tour our mining infrastructure